Past Blog Posts:
Layered Flower Charm Tutorial
Filed under Art Projects, Design Team, Jewelry, Tutorials
Materials:
- 1-1/4″ Brass Disk (solid) with 2 holes
- English Rose Collage Sheet
- Brass Dragonfly Charms
- Jump Rings
- Chain Nose Jewelry Pliers
- 1” Paper Punch
- Circle Crown Rubber Stamp
- StazOn Ink
- E6000 or epoxy glue
- Glue/Sealer like Weldbond, Mod Podge, or Ultra-Seal
Directions:
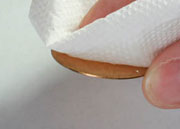 1. Clean a 1-1/4″ Brass Disk (solid) with 2 holes with soap/water and then wipe with a lint free dry cloth. Try to keep fingers off the front of your disc by holding it on the edges.
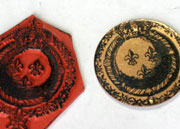
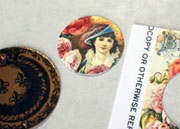 2. Choose a background stamp for your disk. For this sample, I used the Alpha Stamps Circle Crown Rubber Stamp. Stamp with StazOn Ink, and use heat gun to set. Let cool.
 3. Pick an image from your English Rose Collage Sheet to use and cut out using a 1” Paper Punch.
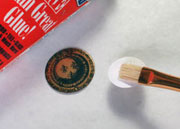
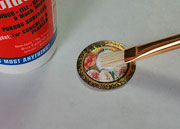 4. Glue the paper disc on the metal disc with Mod Podge, Weldbond, or Ultra-Seal. Apply the same as a sealer to the top of the paper. Set aside to dry.
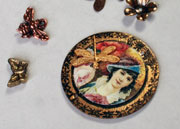 5. Audition the metal embellishments by laying them on top of your charm to see which one works best for the design. I tried Copper Bees, Single Metal Flowers, Mixed Metal Butterflies, Embossed Floral Disk, and Brass Dragonfly Charms. If the charm has a loop on the top, snip it off with Wire Cutters.
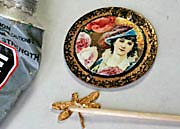 6. Using E6000 glue attach the metal embellishment to the top of the charm.
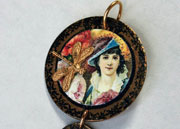 7. Using a Jump Ring attach a small charm to the bottom.
8. Your finished charm is now ready to add to a Charm Bracelet or threaded on to a Chain as a necklace!

 By
By